Cortex MCP Server - The Future of Threat Intelligence
Hello,
Now that we’ve explored using an Elasticsearch MCP Server in the previuos post, here, let’s go one step further: building a custom MCP server from scratch.
I chose Cortex from The Hive Project as the backend. While there’s a Rust-based MCP implementation out there, I wanted something in Python using the FastMCP framework. Python makes it easy to define tools, handle async requests, and integrate with APIs like AbuseIPDB, VirusTotal, or urlscan.io. you’ll be suprised how easy it is to create mcp server.
Why FastMCP?
FastMCP is a lightweight Python framework for MCP servers and agents. It allows you to:
Expose tools to LLMs via simple decorators.
Use Pydantic models to define tool input/output schemas.
Handle communication via stdio or HTTP/S automatically.
Integrate seamlessly with async APIs (like Cortex) without boilerplate.
In short, FastMCP lets you focus on the logic of your SOC tools, not the transport layer.
What’s the power of Cortex + MCP Server Combinition
By combining Cortex analyzers with an MCP server, you transform raw API endpoints into a cohesive, LLM-friendly interface. Analysts can query multiple threat intelligence sources, pivot between IPs, domains, and hashes, and receive structured, human-readable insights—all without writing a single line of complex code.
This setup enables:
Automated enrichment
Faster investigations
Repeatable SOC workflows
Setting Up Cortex
Elasticsearch
First, a Cortex instance needs to be running. Cortex depends on Elasticsearch, so we’ll start by spinning up an ES instance using Docker:
1
2
3
4
5
6
7
8
9
10
11
12
13
14
15
16
17
18
19
20
21
22
23
24
25
26
27
28
29
version: "3.9"

services:
  elasticsearch:
    container_name: elasticsearch-cntr
    image: elasticsearch:8.17.10
    environment:
      - cluster.name=hive
      - network.host=0.0.0.0
      - thread_pool.search.queue_size=100000
      - discovery.type=single-node
      - xpack.security.enabled=false
      - script.allowed_types=inline,stored
      - ES_JAVA_OPTS=-Xms1g -Xmx1g   # optional heap size
    volumes:
      - elasticsearch_data:/usr/share/elasticsearch/data
    ulimits:
      memlock:
        soft: -1
        hard: -1
    ports:
      - "9200:9200"
      - "9300:9300"
    stdin_open: true
    tty: true

volumes:
  elasticsearch_data:
Cortex
For Ubuntu users, download the .deb package of cortex, unpack, and wait for the service to start:
1
2
3
# install latest
wget -O /tmp/cortex_3.2.1-2_all.deb https://cortex.download.strangebee.com/3.2/deb/cortex_3.2.1-2_all.deb
Non-Ubuntu users can install the appropriate package from here.
then Follow this guide on how setting up the organization, users and enabling Analyzers. First Start Guide
Setting Up The MCP Server
in have created and pushed a docker image containing the docker image for an easy deployement I’ll be using vscode copilot like the last time :
1
2
3
4
5
6
7
8
9
10
11
12
13
{
  "servers": {
    "cortex-mcp": {
      "type": "stdio",
      "command": "docker",
      "args": [
        "run", "-i", "--rm",
        "--env-file", ".env",
        "b2hu/cortex-mcp:v1"
      ]
    }
  }
}
the code source and the docs are here : Github
spin up the server by pressing start.
Intercting with our Threat Intelligence Agent
let’s start by listing all the tools the agent can access :
As shown, the agent has successfully listed three tools, confirming that the LLM has connected to the MCP server correctly.
To test the Backend go to AbuseIPDB and grab any ip address to scan using the agent:
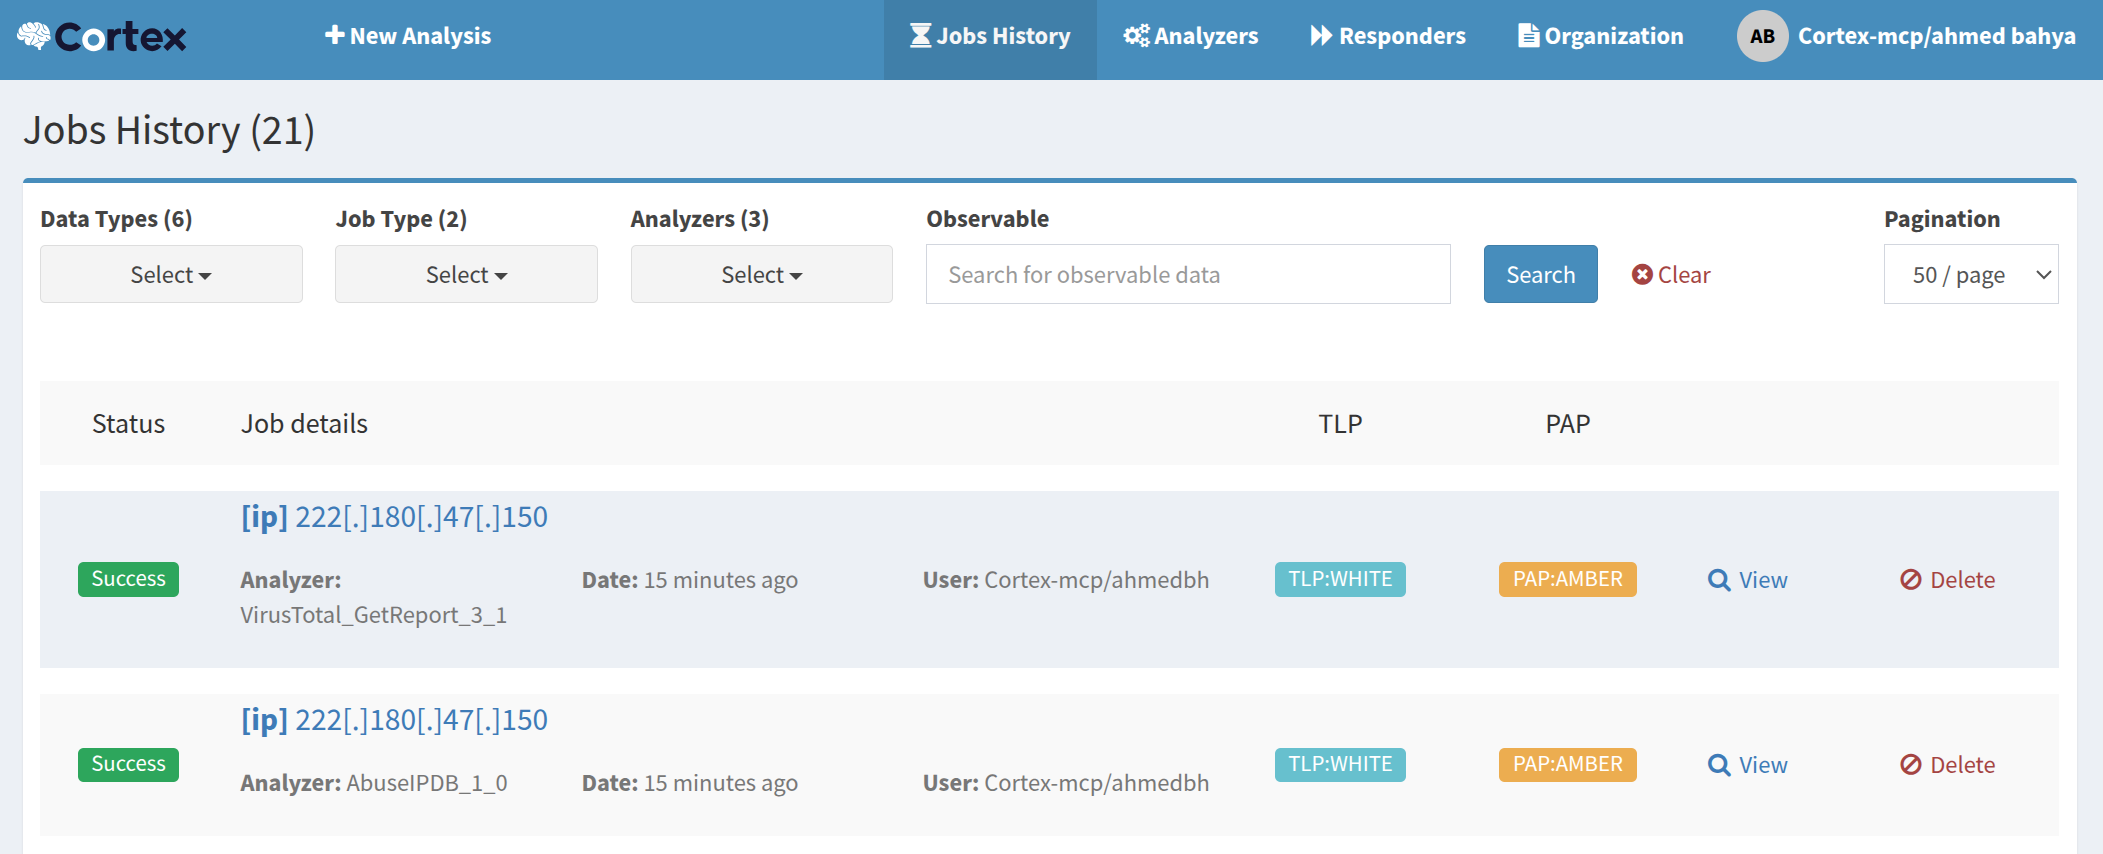
we can see that the agent has executed the abuseipdb and virus total tools to scan the ip address and reported it as flagged. if we look inside Cortex GUI we’ll notice that 2 jobs are created to scan the ip address that we gave to the agent :


